With a new addition to the family on the way and mostly unusable basement space, I decided it was time to tackle a home renovation.
What could possibly go wrong?
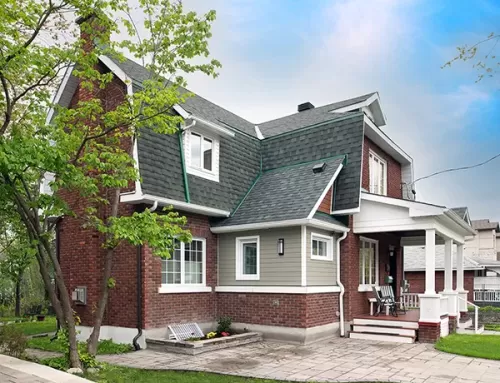
My house was built in the late 70s by a homeowner who had lots of help from local, now retired, contractors. The house is solid. There’s no structural concern and the rooms, left untouched from the original build, are in good shape. The D.I.Y. rooms, however? That’s a different story.
The basement space has never been used for anything other than storage (realtor photo). A corner brick fireplace with a large radius concrete hearth made the space very awkward for furniture placement. The gas insert had seen better days and was in need of some serious TLC before I would have deemed it safe to even light the pilot light.
With a need for more space, and an addition to the house well outside our budget, we decided the fireplace needed to go.
Erin and I sat down and planned out how we wanted the space to look, how much we wanted to spend, and how long I was going to take to complete it.
We started by researching dumpsters and found the lowest price bin that would suit our needs. With two tips included in the fee for the month’s rental, I was sure that was going to be more than enough for what I was seeing.
Here’s where the fun starts.
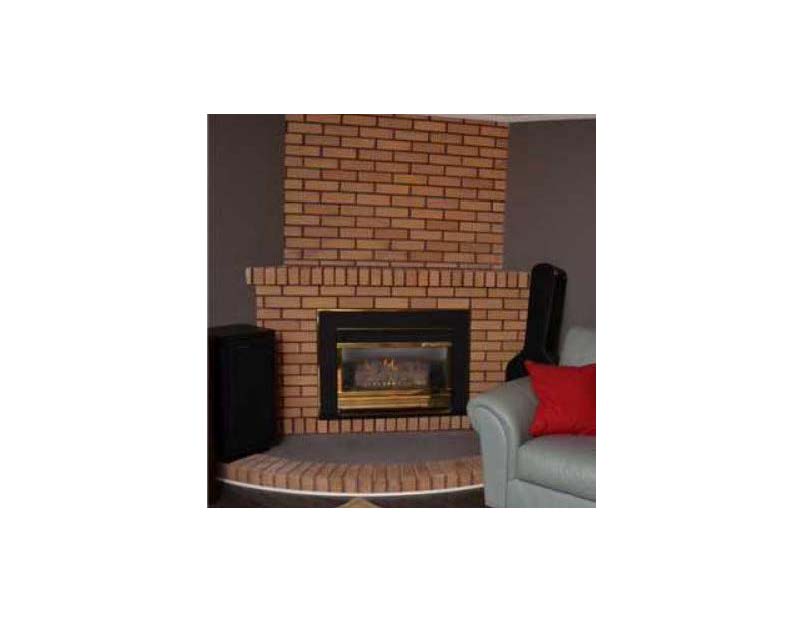
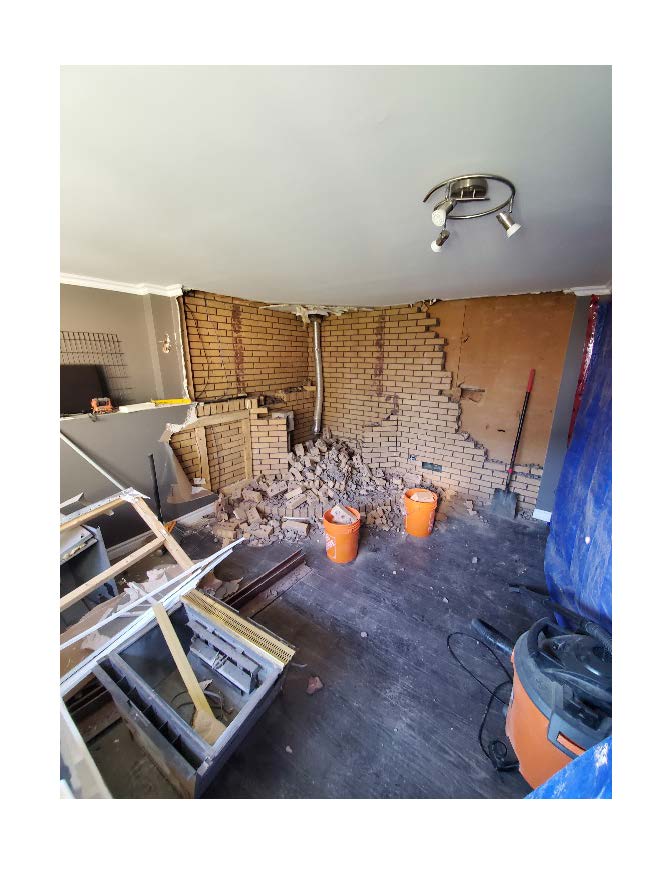
With the gas line disconnected and capped and the insert removed, it was time to tackle the brick wall. I could see that the brick continued from the 45° angle back to the corner, so I knew this was not going to come down easy. I decided to remove the drywall on the flanking walls to get behind the brick, and used that as leverage to bring this down. MORE BRICK! Both flanking walls were full brick, slab to joist and had been covered up by a previous homeowner.
I have to compliment the mason who did this brickwork. If the house was ever wiped out by a tornado, that brickwork would have not moved an inch.
With the corner removed and most of one wall down, the dumpster was full. Here’s where getting the cheapest bin came back to bite me and my schedule. The company only comes and tips on Thursdays. I had hoped to have the demo all done in a week, but with a full dumpster and another full wall of brick piled in the middle of the floor, the work stopped until the tip.
Now a full week behind schedule and the dumpster again full of brick, it was time to open up the exterior walls and ceiling. What else could I possibly find?!
I hear the stories from the construction team all the time about what they uncover when they open up walls, but I never thought it would happen in my home renovation.
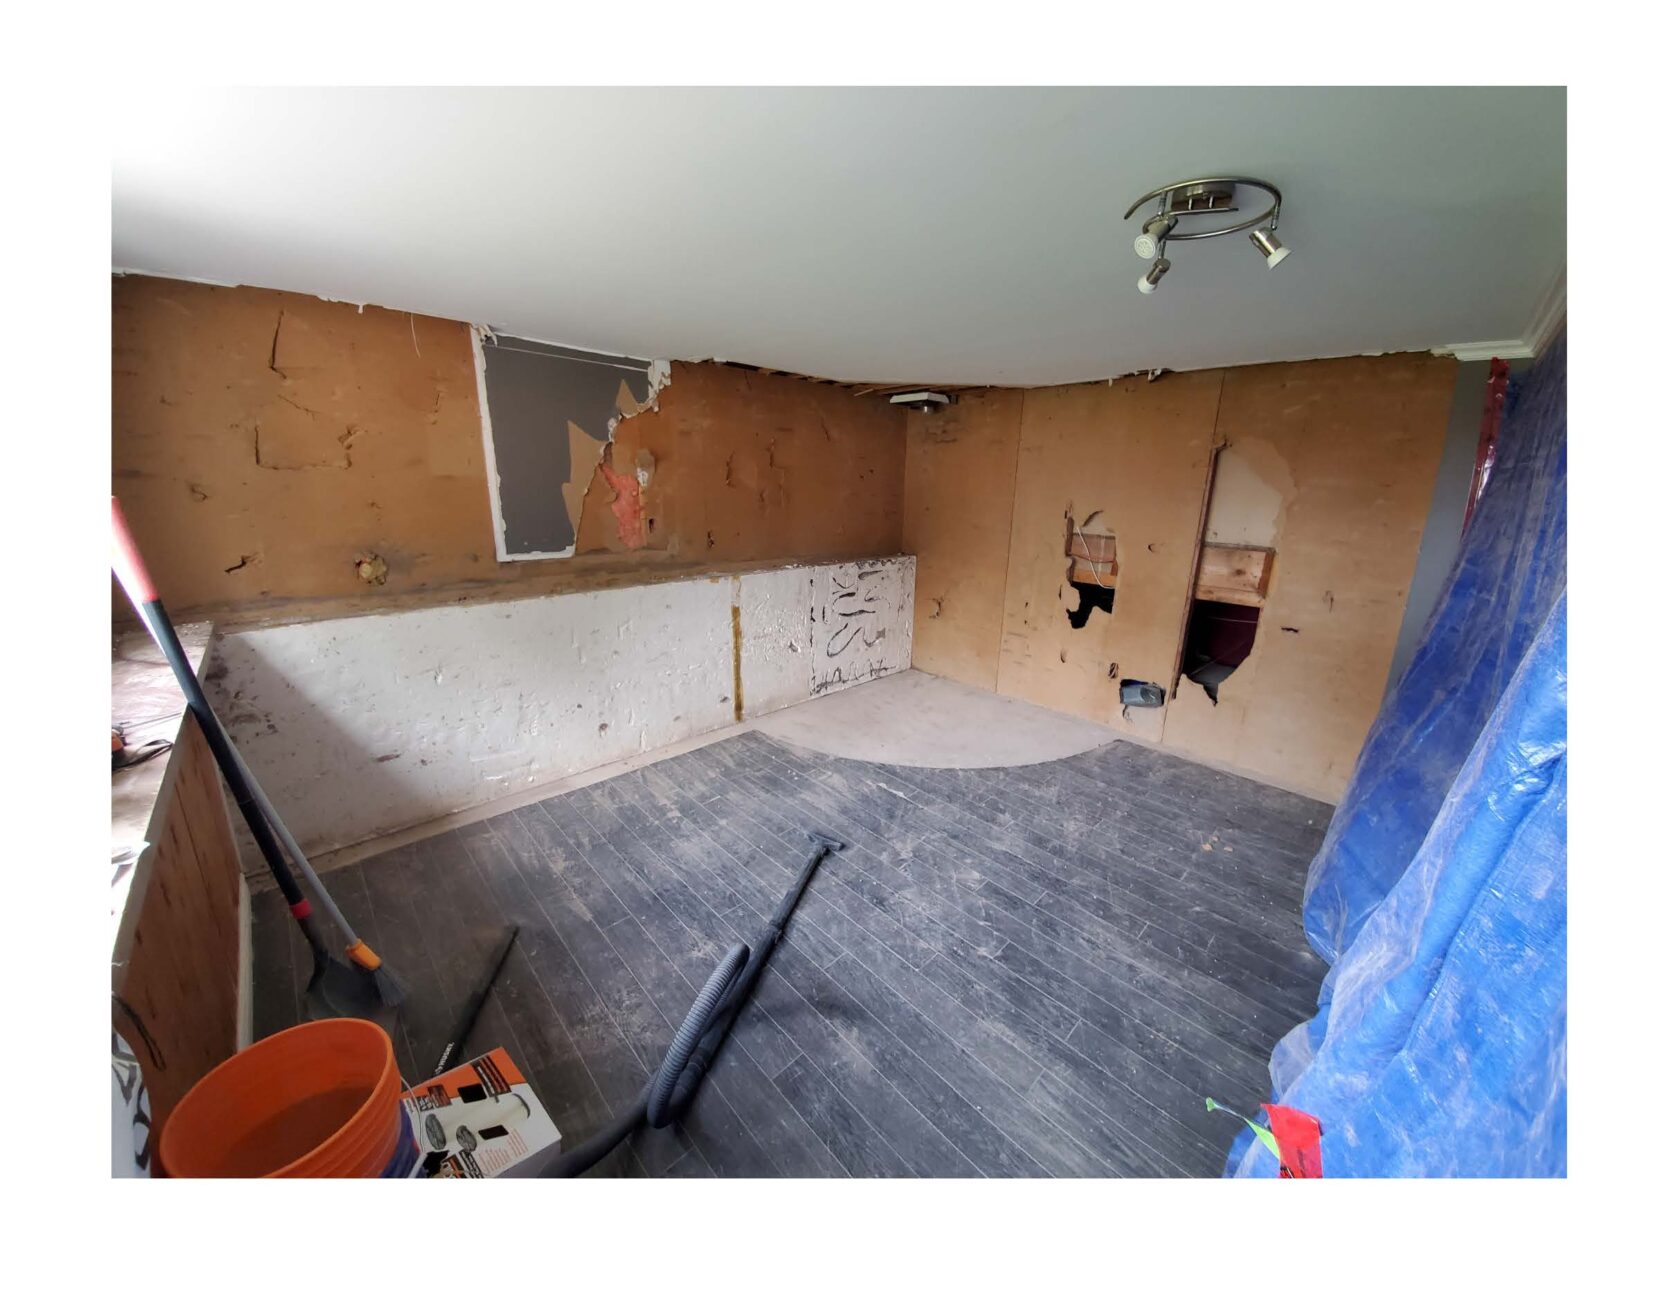
Overall, the house does not perform well when it comes to heating and cooling. With the drywall and fibreboard (non-asbestos-containing!) removed I found out why. There is no insulation in any of the floor header spaces and the fibreglass batts in the stud cavities were jammed in tightly. In most cases the backside of the batt was quite black, showing evidence of severe air leakage.
While we had budgeted for some insulation, this discovery forced us to have to up that budget. We made the decision to spend a little extra and have a company come in and spray foam all the walls and header spaces. Comparing their quote to the cost of materials to do it myself was a no-brainer.
The next and hopefully final fun discovery in my home renovation involved electrical. While removing the batt insulation, I found not one, not two, but three separate junctions within the insulation. Not wires connecting in a box and hidden in the wall like we hear Mike Holmes complaining about, but wires simply taped together and buried within the batt. Sure glad that never caused an issue.
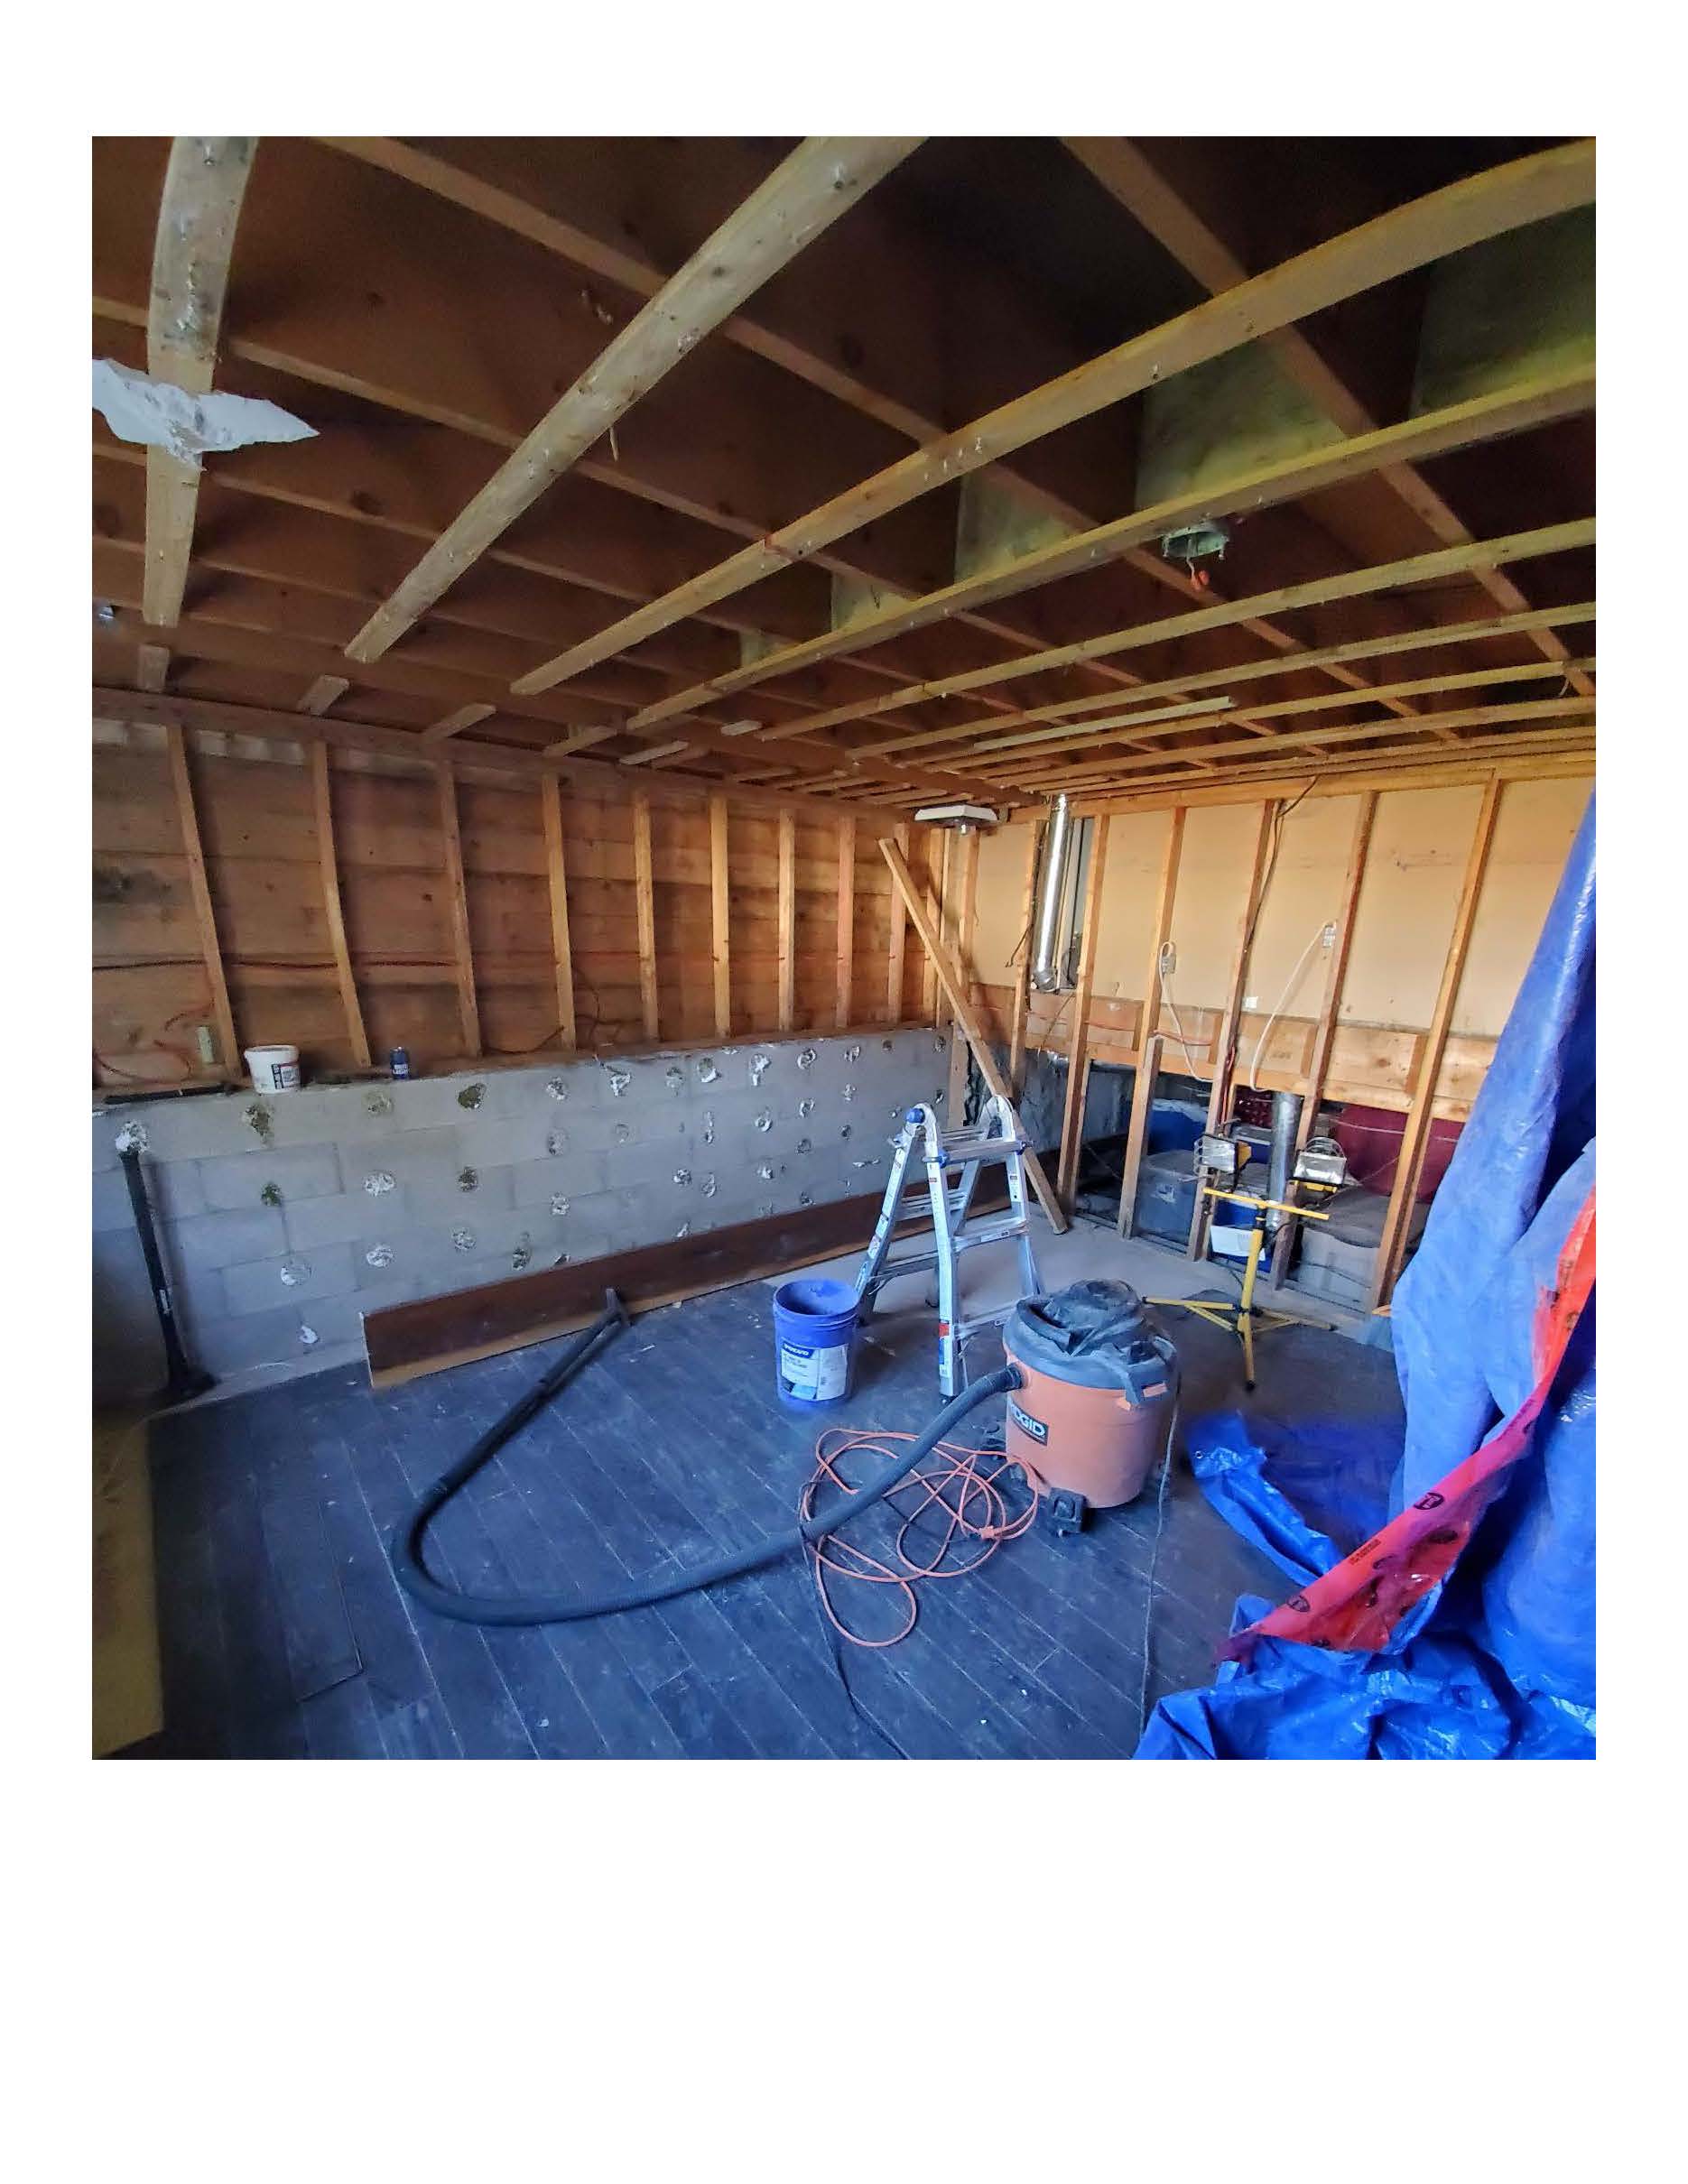
With the demolition now complete, I’m hoping I’m through all of these surprises and delays.
Even though we thought we took the proper time to plan this, it’s amazing what you can uncover when you take on a home renovation project.
Now on to the framing and finishing stages. Stay tuned for future updates!
Written by Jeff Hurdis, Lagois Lead Designer


